Who doesn’t love to eat fresh baked warm bread? It nourishes, comforts and satisfies. Bread has been around since forever and it is even mentioned in the Bible at the beginning of the Old Testament book of Genesis. Anyone can learn to bake bread. It may seem overwhelming to start something new, but the first step is to try. It’s science but it’s not rocket science. People have been baking bread for thousands of years without the conveniences of electricity, an oven or even an indoor air-conditioned kitchen! So no excuses, right?
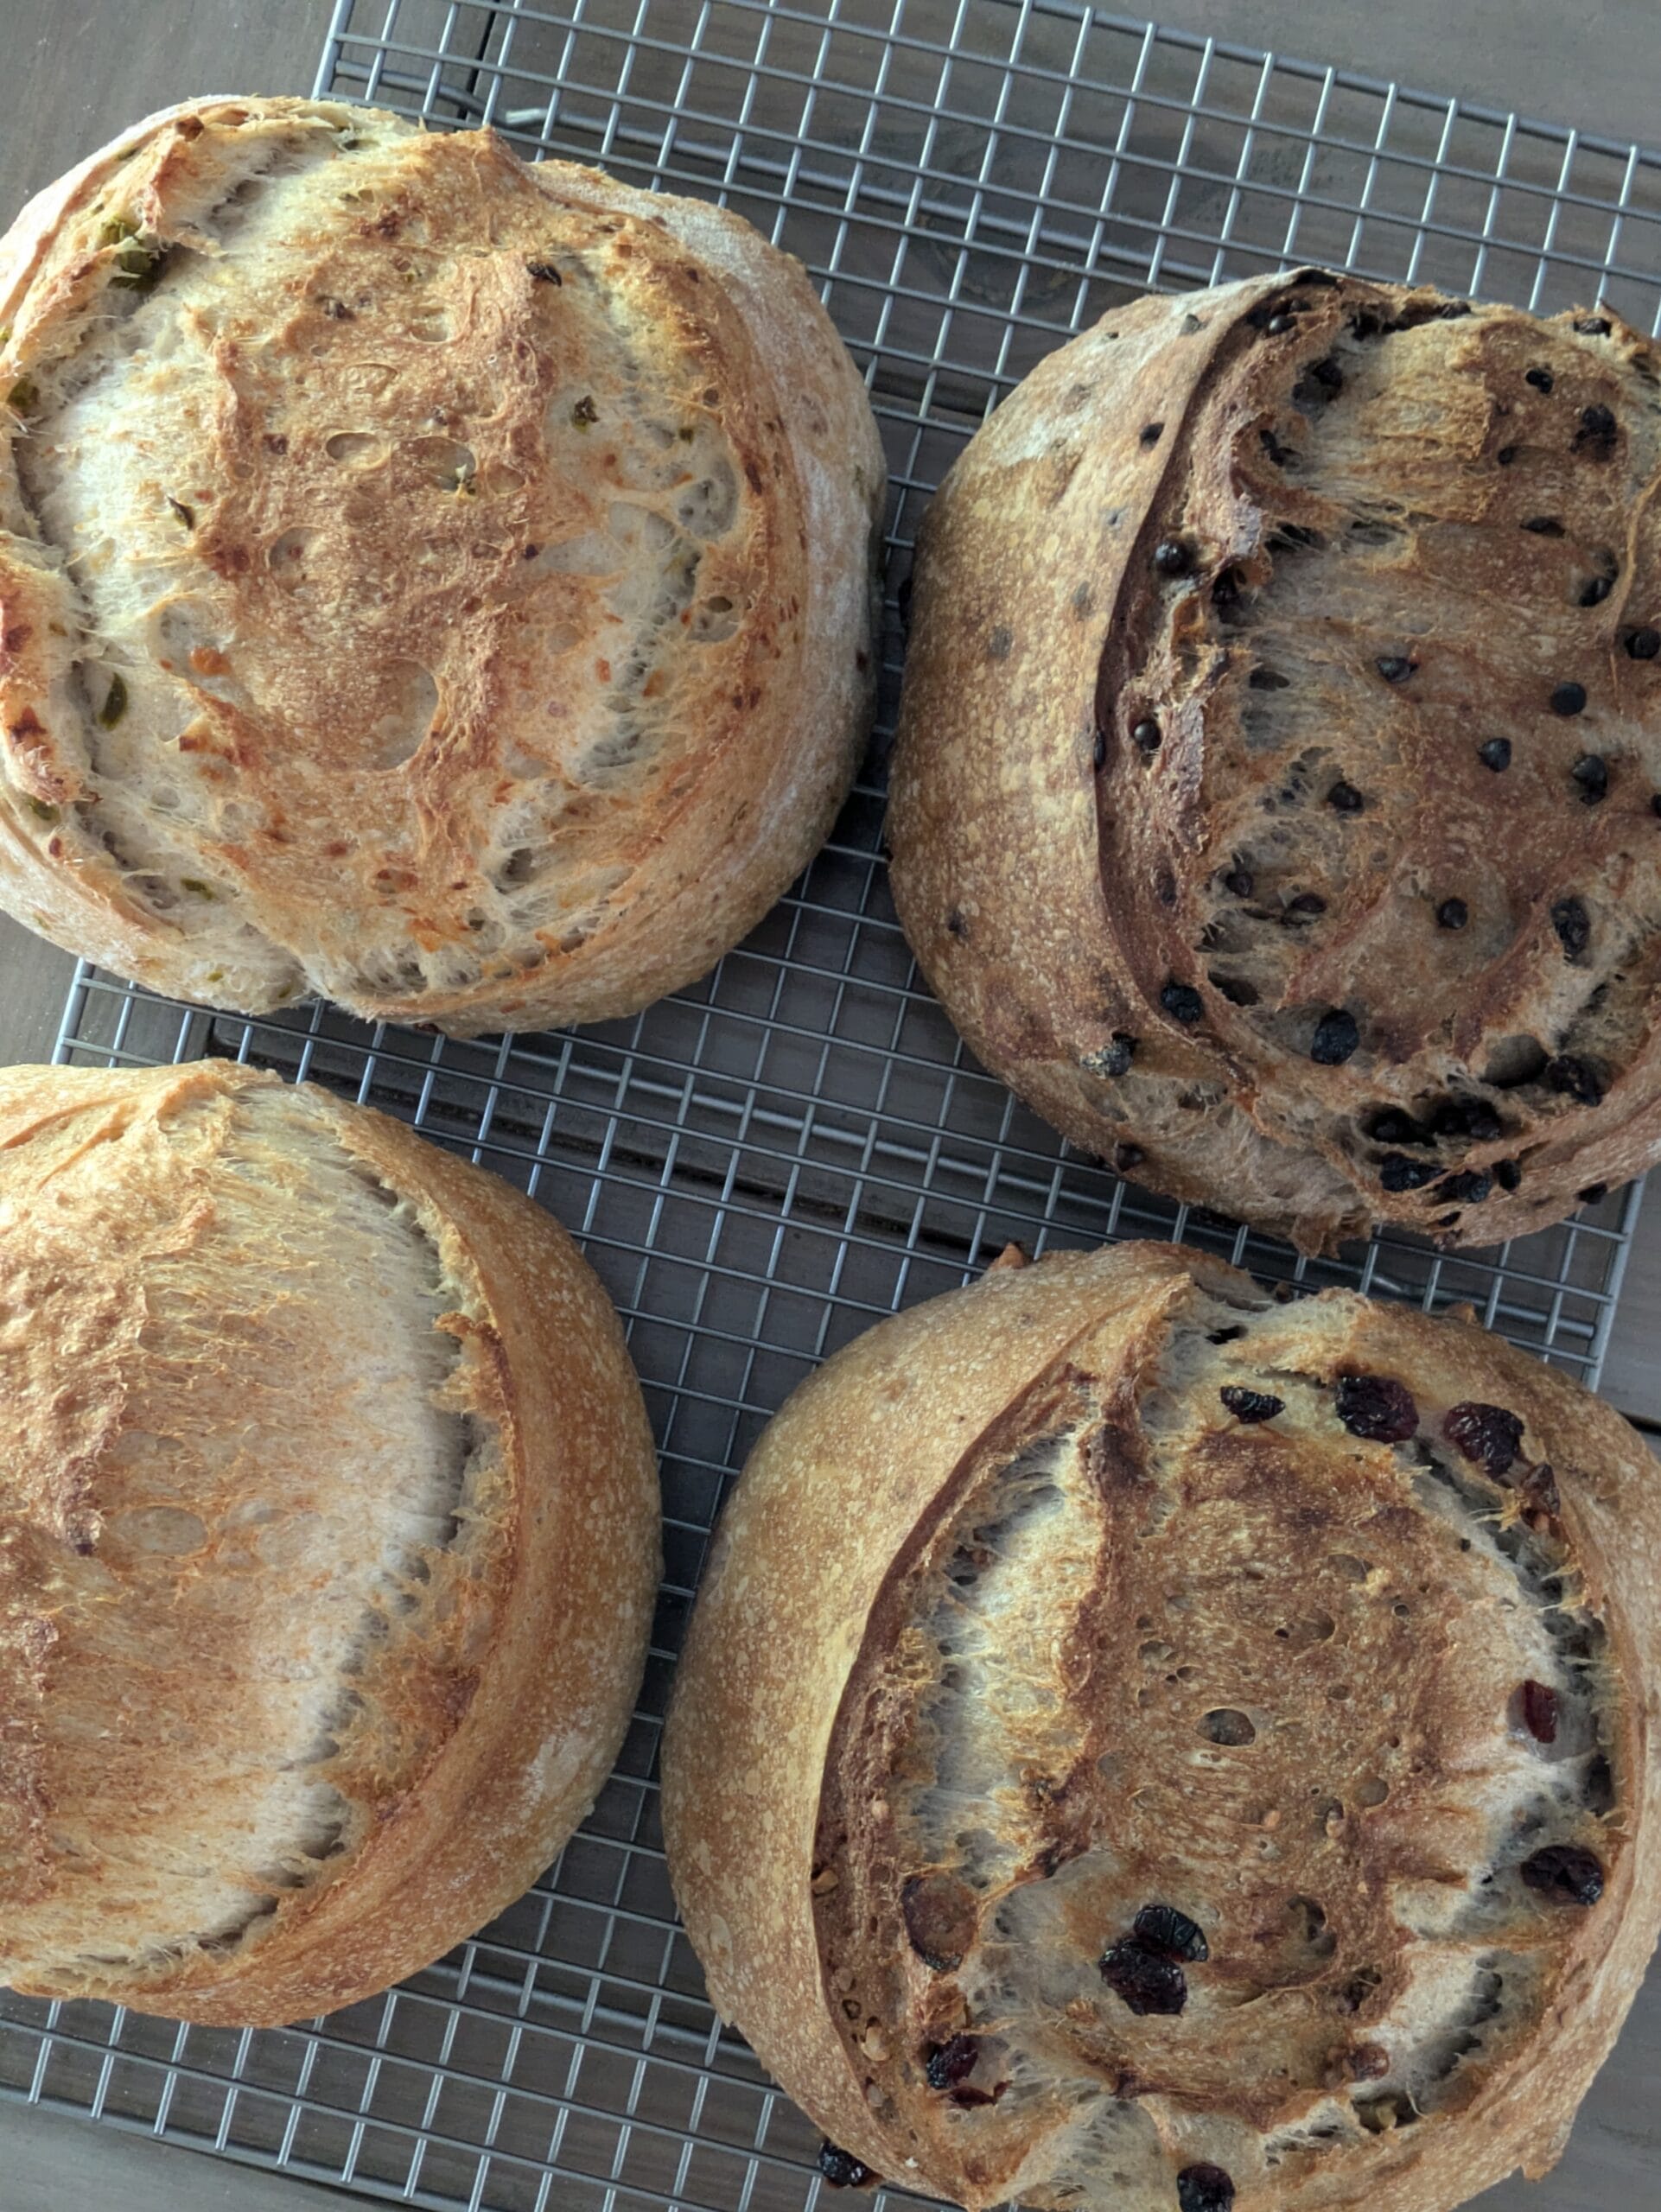
With some practice you can achieve what you set out to create with your own hands to care for yourself and others. Even though I have baked thousands of sourdoughs and fresh milled whole grain breads from my home micro bakery, I like to keep it simple. It can be helpful to have some modern kitchen equipment, aka “toys”, but it’s not necessary for starting sourdough.
Having a strong and reliable starter is the foundation along with clean wholesome ingredients and some simple tools. There are so many ways to maintain a sourdough starter and many techniques of bread making. Keep it simple and make it fit into your lifestyle. Find a recipe, baker or sourdough book with a schedule and technique that seems doable. Then go for it. Experiment, create, enjoy and have fun!
Basics That I Do For My Starter :
- Use organic flours/milled grains for your starter and baked goods (non-organic may be sprayed with chemicals and bleaching agents like glyphosate and bromine).
- Use the cleanest filtered water available like a Berkey or reverse osmosis water (tap water and even some bottled water may have added chemicals for disinfecting).
- Make sure your starter is activated, aka “fed”, at least the day before you need to use it. You want it to wake up and be ready to go, not sluggish and hungry.
Starter Storage :
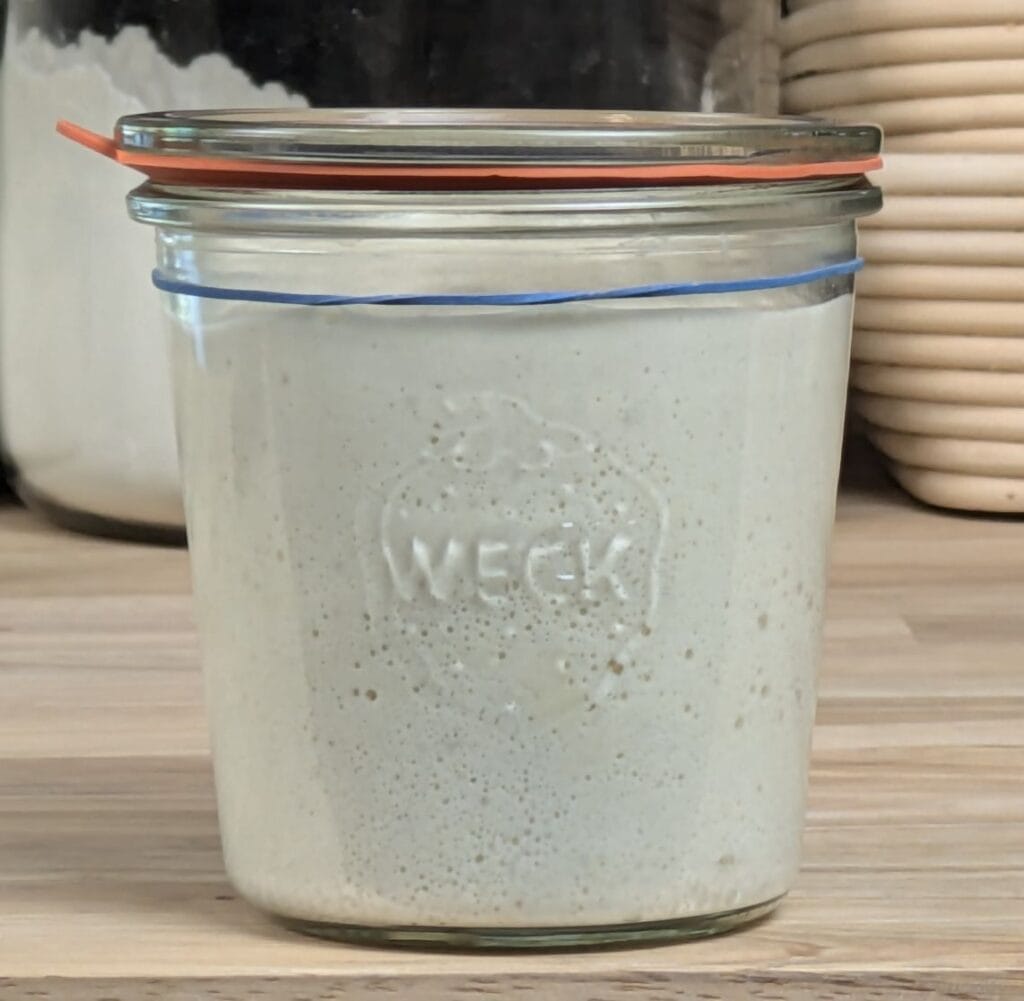
- I like to store my starter in a glass jar in the refrigerator. This will slow the “eating” process down from the ever-hungry natural yeast and bacteria culture in your starter. You can store your starter at room temperature, but you may have to feed it many times a day to keep it satisfied. Many feedings equal more flour, water and costs. What are you going to do with all that starter you made? Plus, you may “overwork” your starter when it is not necessary.
Starter Feeding :
- Before I feed my starter (that has been sleeping in the refrigerator), I’ll let it sit on the kitchen counter and warm up some, it just makes it easier to mix in added flour and water. You can weigh your ingredients if you are a triple A technical type, but you don’t have to. I just “eyeball” it. My general rule is to feed my starter a 1:1:1 ratio (one part starter to one part flour to one part water). I use a rubber band on my starter jar to see how much flour to add. I add enough water to make the texture more like a pancake or cake batter consistency, not too thick and not too thin. Don’t fret if you made it too thick or too thin, just add a sprinkle of flour/water as needed to adjust…it will work out! Then let it sit on the counter with the lid on loosely but closed so carbon dioxide can escape while it’s eating and no flying insects or the like can get in. Then I put my rubber band to the level of my newly fed starter. When it doubles, I close the lid with a little tightness (don’t go crazy) and put it to bed in the refrigerator. Nighty night.
- Disclaimer: I have purposely left some additional starter in the back of my fridge unfed for over 2 1/2 years……yes it looked black, but not moldy, and dried out when I finally decided to pay attention to it. I just discarded the “dead” part and left it on the counter, fed it daily, put it to bed in the fridge and repeated the daily feedings and it revived in less than 2 weeks. I am sure the process would have gone quicker if I fed it a few times a day, but I was lazy. My sourdough starter is resilient! Unless it is moldy, and we all know what moldy looks like (fuzzy, powdery and smelly), it can be resurrected!
How Much Starter To Keep :
- Keep as little or as much starter as you like. I personally keep only 1/2-1 cup of my original “mother” starter. I have baked as much as 150 sourdough loaves a week for my business. It will still be alive even if you store only a tablespoon of it. If you prefer to keep a small amount of starter but need more for a recipe you can make a “levain” which is the activated starter amount called for in the recipe. Example: you need 100 grams of active starter/levain for the recipe but only have 40 grams of starter stored. Take about a tablespoon of your original starter (after it has been fed and activated) and add it to another bowl/jar along with 50 grams of flour and 50 grams of water, mix, cover and let double at room temperature. You should already have an idea of how long the levain will take to double just based on how long it takes for your original mother starter to double so you can time accordingly with your recipe timeline/baking schedule (if you need it to go faster, just add more than a tablespoon of starter in the beginning). Now you have just a little over 100 grams of starter/levain ready to use in your recipe.
- The other option is to store enough original mother starter so you will always have what you need once it’s been fed and activated for what your recipe calls for. Remember, the more starter you store the more “food” it will need which may lead to waste if unused.
- I always replenish (feed) my starter every time I use it which is usually several times a week. Ideally you want to feed your starter at least every 7 days although as mentioned above, it can go longer but may take longer to activate once fed or may take a few feedings to bounce back again. Don’t fret over it! You can go on vacation for a few weeks and not hire a babysitter to feed it.
Temperature Matters :
- Now let’s talk about temperature! Temperature is a huge thing with sourdough baking. The warmer the water, dough and kitchen is, the faster everything goes. Yeast and bacteria thrive in warmer temperatures. The opposite is true as well, the colder it is the slower it goes. You can manipulate the whole process with temperature. If it’s too warm in my kitchen, which happens a lot, I make adjustments so my sourdough fits in my schedule. I may use less levain in my recipe as less starter will allow my dough rise (fermentation) to go slower. You may have to adjust your water amount to get the right dough consistency if you decrease the starter significantly. I will even store my finished dough in the refrigerator to slow the fermentation process down. If it’s too cold in my kitchen I may slightly warm the water I add in my recipe and sometimes will even store my mixed dough in a slightly warmed 80-85 degree F oven or bread proofer (if you live in a frigid state like Alaska and are lucky to have this fancy toy) to speed the fermentation process up. Remember, I like to make my bread baking fit my schedule so there’s no guilt in manipulating temperature to your advantage. Play around and experiment!
Need More Help?
- And finally, if you need help, PLEASE contact me! I will personally get back to you and if I don’t know the answer, I will research it. I want you to be successful!