
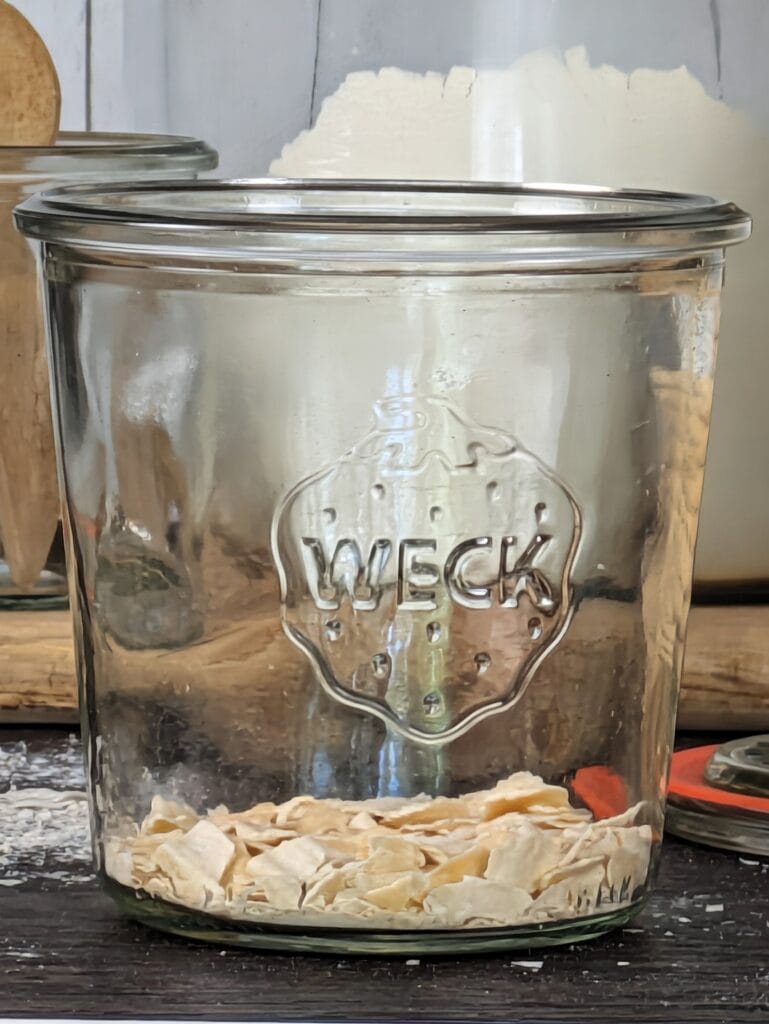
Step 1.
Add all the dehydrated starter to a glass jar (1/2 quart size is plenty) with 1/2 cup of organic all-purpose flour.
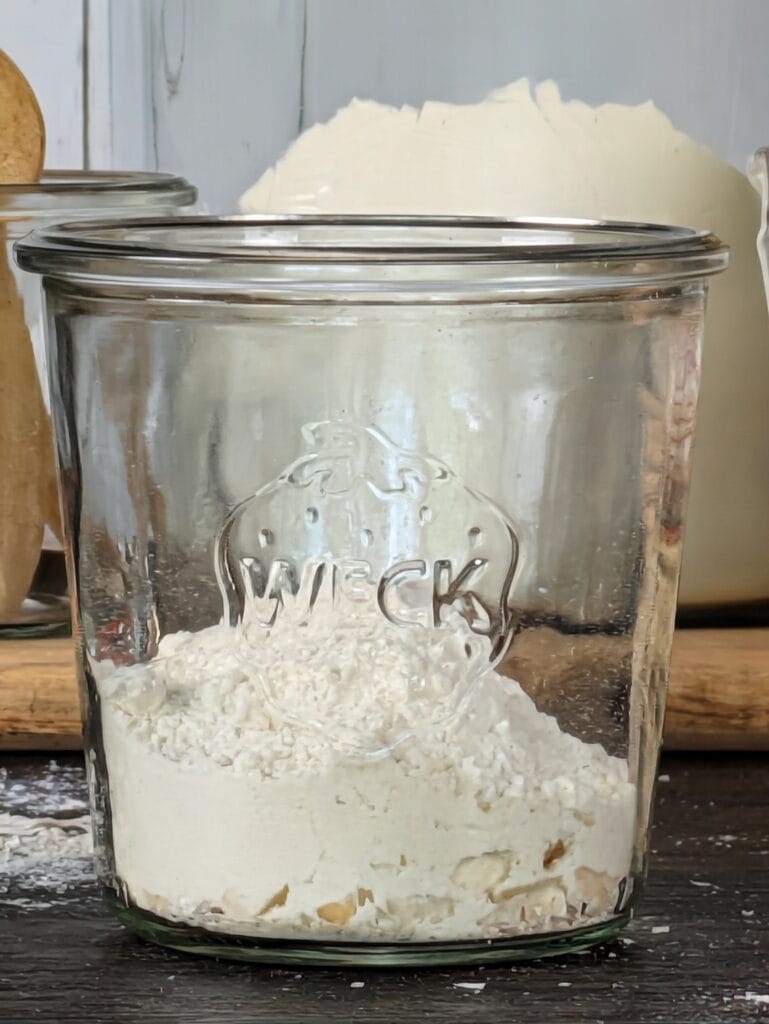
Step 2.
To the jar add 4-6 tablespoons (or more) of room temperature filtered/pure water. Add enough water to make a pancake to cake-like batter consistency (not too thick or thin). Stir well.
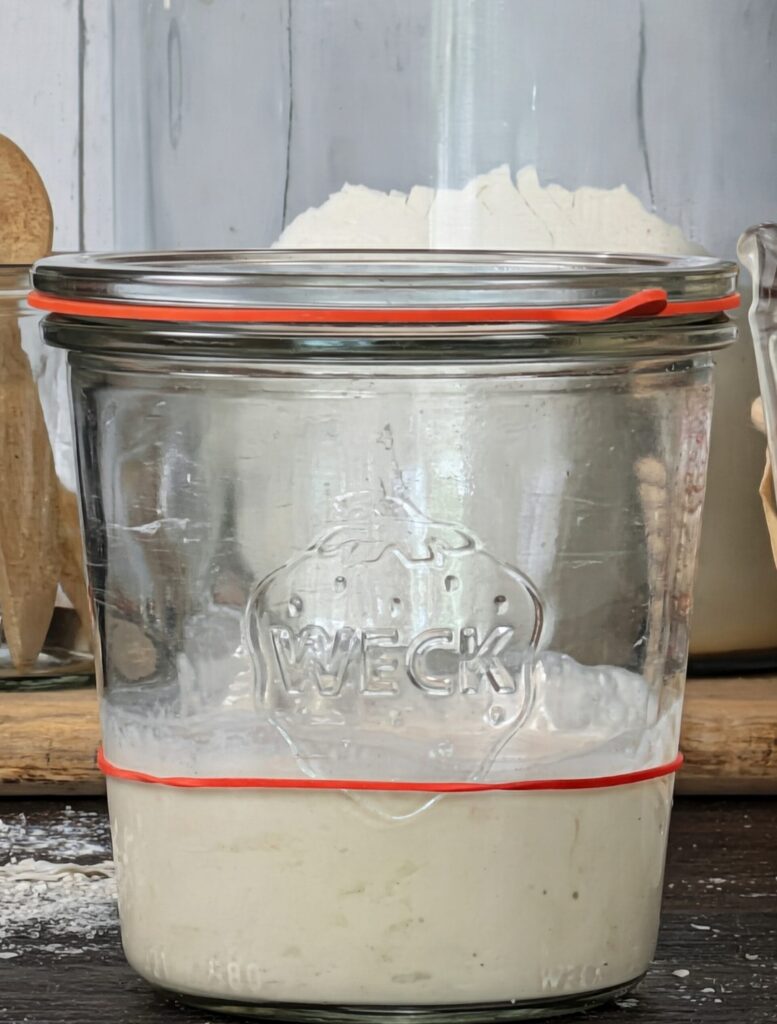
Step 3.
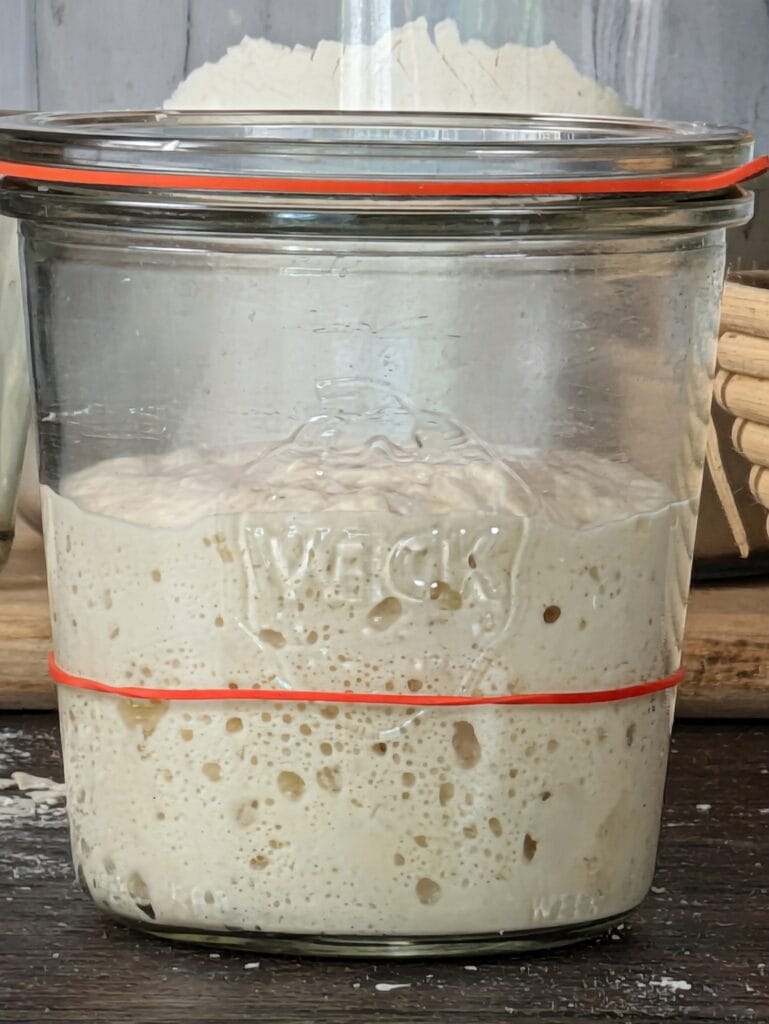
Cover the jar with a lid fitted loosely to allow air to escape as the wild yeast and bacteria produce carbon dioxide when it feeds on the mixture. Mark the begging level of the starter with a rubber band or marker. Store the jar at room temperature and stir the mixture every few hours within this period until you notice it start to bubble and rise. (You can stop mixing now).
Step 4.
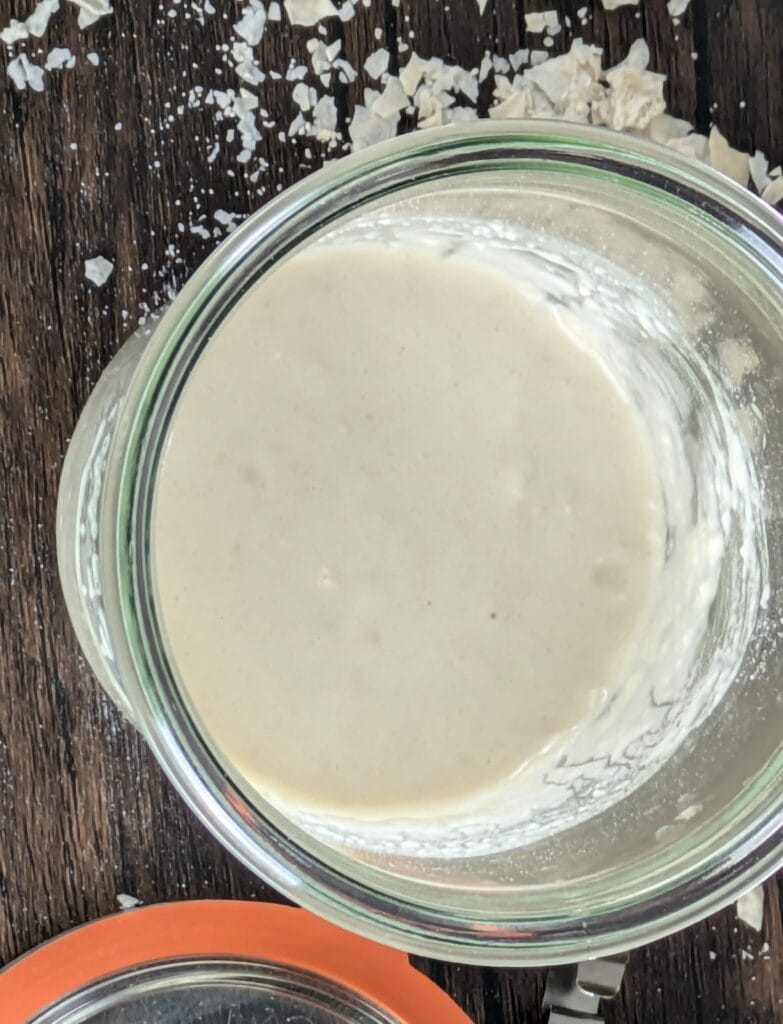
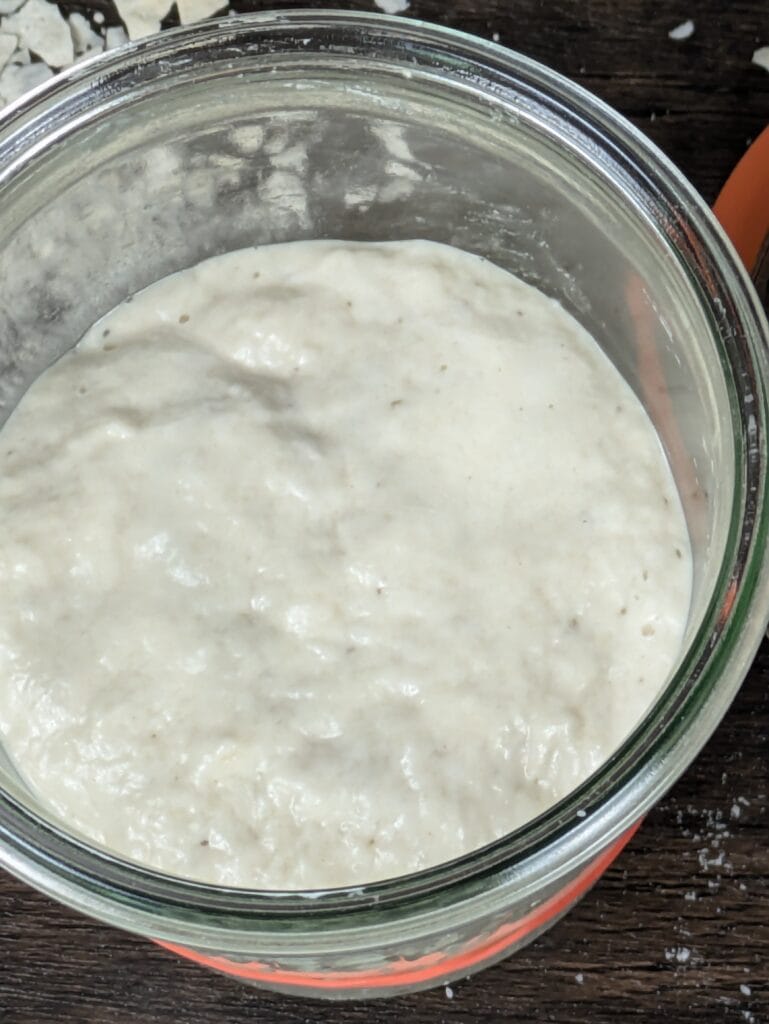
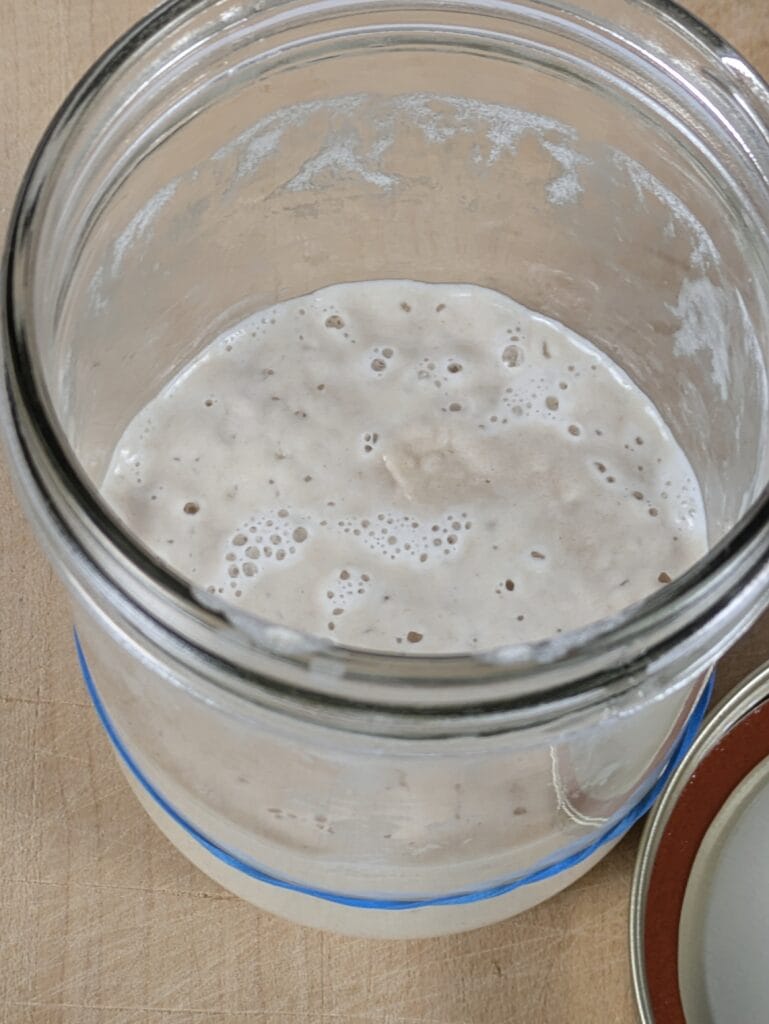
The reviving process can take as little as 12 hours or a few days. Once you see active bubbles and that the volume has increased (if not doubled or more) then it is now revived and alive. The rate of this process can depend on the room temperature and humidity.
Tips
- The warmer the room temperature the faster the process. Humidity is helpful and 80 F is an ideal room temperature.
- I recommend you start the revival process in the late evening (bedtime) to make it easier to observe throughout the following day.
- If it is cold in your kitchen you can place the starter jar above the refrigerator where it tends to be warmer or you can place it in a pre-warmed oven (78-80 F), just remember to turn the oven off after heating!
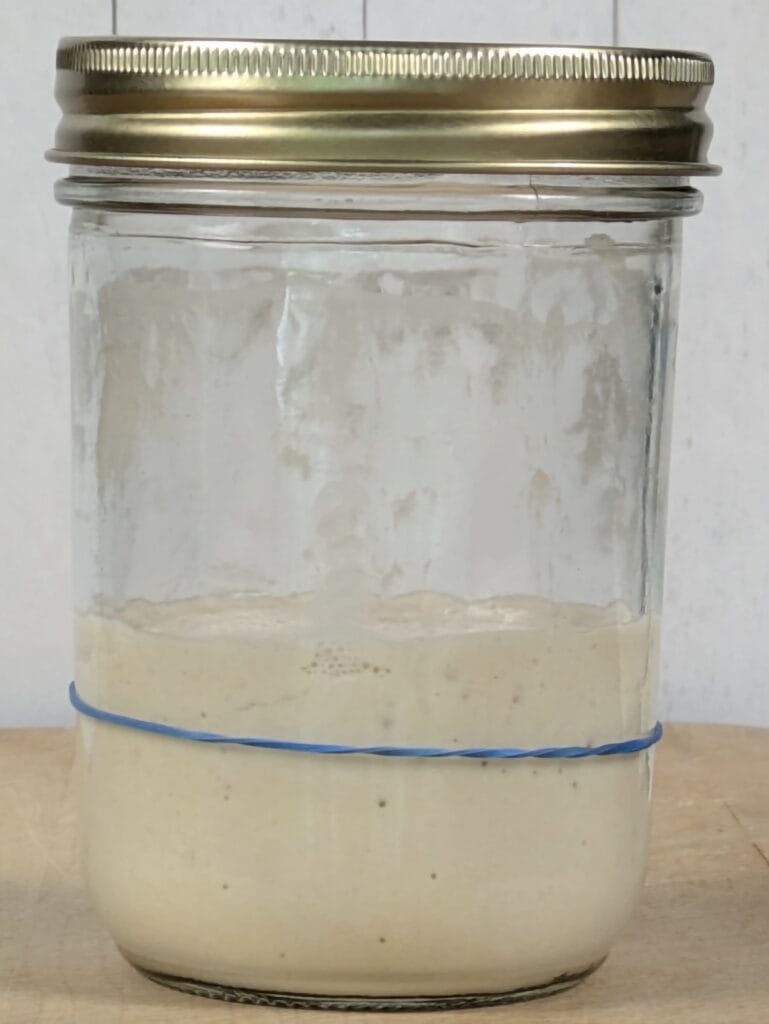
- If some time has passed and you were not able to observe the rising process you should see some evidence that the starter rose then fell. You can see the film the starter left near the top of this jar pictured. This shows that it activated fully and then decreased as normal.
- You can revive your starter in a colder kitchen, just have a little patience. It can take 3-4 plus days in a kitchen that’s in the upper 60’s F to low 70’s. If the mixture has not grown, continue to encourage it by stirring at least a few times a day until you see growth, then stop stirring and let it continue to rise (could take another day or so) to at least double in height.
- Once your starter is activated it is ready to use or to be stored. Store according to your recipe or visit my TIPS page to learn how I store my “Sunshine” starter.
- And finally, NAME your new starter!
- PLEASE contact me if you have any questions, I want you to be successful!